


Anleitungen JG 3.x
- Details
1. Download and install the JoomGallery
Basically the installation (and also the update) of the JoomGallery takes place via an upload in the extension manager of Joomla!.
Besides to directly uploading the zip file you can also use the 'Install from web' tab. During installation the files are copied to the correct location and the necessary database tables are created. A later update will overwrite all files and update the database tables if necessary. Your pictures and settings will of course be retained.
After a successful installation the following screen appears.
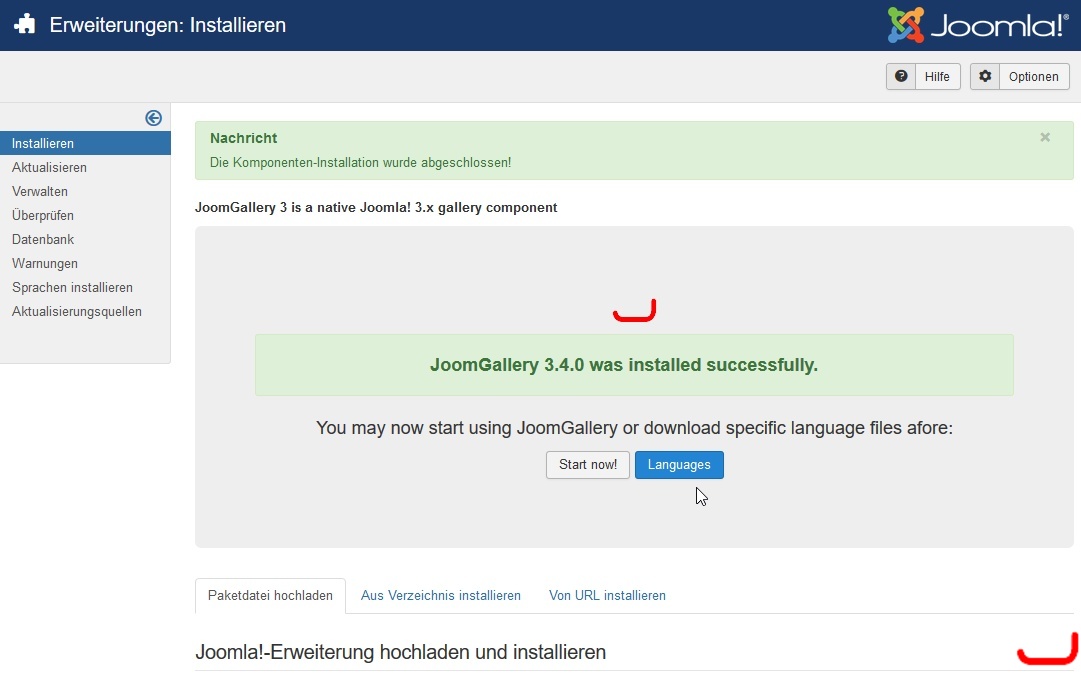
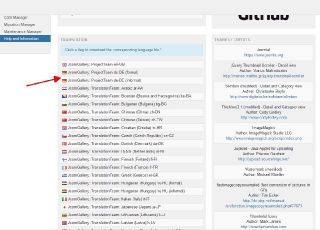
Here you have the possibility to click on 'Languages'. By clicking on the respective flag, the respective language files are installed. You may install multiple languages for multilingual websites. There are currently 38 languages available.
2. Create a category
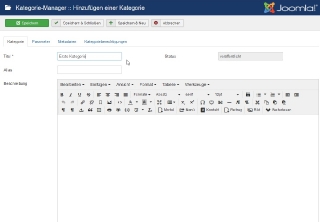
The images of the JoomGallery are organized in categories. Other image galleries often use the terms 'albums' or 'galleries' for this. Images can only be uploaded to an existing category. So at least one category must be created. To do this, call the 'Category Manager'. Then click on 'New' in the toolbar. The only mandatory field for the new category is the 'title', all other fields are optional.
3. Upload images
When you have created a category you can upload the first images. We recommend using the Drag'n'Drop upload as it allows you to upload any number of pictures at once. To select the images, click on the large green button or drag and drop them to the button.
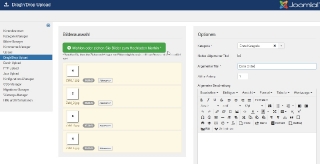
The selected images will be displayed in the upload form. The next step is to select the category in which the images are to be loaded. Now you have to specify the image title and other parameters.
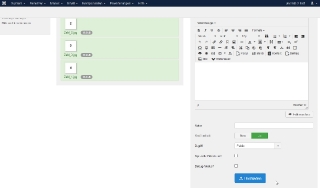
When everything is ready, click on the 'Upload' button. Then the images are uploaded and processed one after the other. You can follow the progress for each individual image. Wait until all images are shown 'green' before you change to another page.
You can find a video tutorial for uploading also on YouTube.
4. Create menu entry
In order to be able to see the images on your website a corresponding menu entry has to be created. To do this you have to create a new menu item within Joomla!'s menu manager. Please select JoomGallery >> 'Gallery view: Standard layout' as 'Menu entry type'.
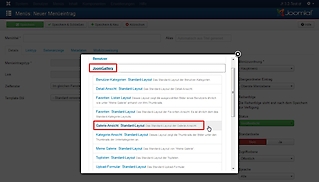
In the field 'Menu title' you have to enter the name of the menu entry (here e.g. 'Image gallery') and click on 'Save'.
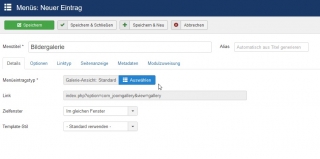
If you call up your website in the frontend, the menu item should already be available in the menu. When you click on it, the 'Gallery view' of your JoomGallery will appear with the categories you have created. You can find an explanation of what different views here.
5. Change configuration settings
The JoomGallery has a very extensive 'Configuration manager' which can be used to control almost anything.
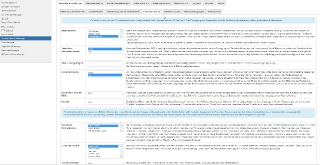
As an example, we want to change the size of the thumbnails and the information displayed in the category view.
Change thumbnail size
Instead of a thumbnail height of 100px you may think of displaying square thumbnails with 200x200px. To do so you have to change the following settings:
- General Settings >> Image Processing >> Thumbnail conversion to 'free settings'
- General Settings >> Image Processing >> Part of image to be cropped to 'center'
- General Settings >> Image Processing >> Thumbnail width to '200'
- General Settings >> Image Processing >> Thumbnail height to '200'
Note that changing these sizes will only take effect to the thumbnail and detail images of new images you'll upload. In order to change the existing images, these (thumbnail and detail images) must be recreated. This is done using the 'Recreate' button in the Image Manager.
Customize category view
Instead of two columns with thumbnails, we would like to display three columns:
- Category View >> Generell Settings >> Number of Columns to '3'
Hide number of comments and hits in category view:
- Category View >> Generell Settings >> Show Comments to 'No'
- Category View >> Generell Settings >> Show Hits to 'No'
- Details
How can you isolate a problem? - The checklist
If there is a problem, this checklist should help you identify the cause of the problem.
Before asking a question in the forum, you can work through a few important points yourself. In this way, time delays can be kept as low as possible due to necessary queries.
In order not to have to query the same information time-consuming, we have summarized the most important points as a checklist.
Remember: the more detailed the information, the faster and more targeted help can be.
1. Used program versions
The two most important informations are the used Joomla and JoomGallery versions. This information is almost always needed.
- Joomla! version, e.g. 3.9.19
- JoomGallery version, e.g. 3.4.1
Please give the complete version number. Information like 'current/latest' is not very helpful here. 
2. Important system information
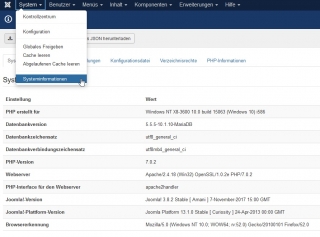
A screenshot of the most important system information:
Find it here: System >> System Information
3. Increase the error display in Joomla
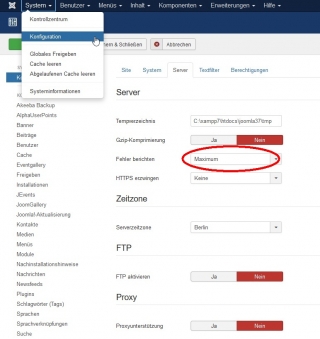
In the Joomla! Configuration, set the Error Reporting to 'Maximum'. This is particularly helpful with blank white pages. Usually more detailed error messages are then displayed.
You can find it here: System >> Configuration >> 'Server' tab
4. Check the error console in the browser
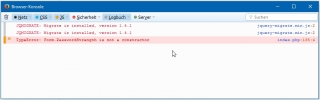
Any script errors that occur are displayed (usually in red) in the error console of the browser. A wide variety of malfunctions can occur due to script errors.
5. Activate 'Debug' mode during upload
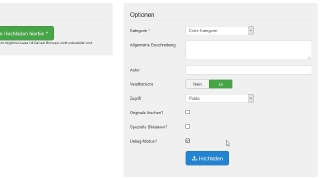
Activate the 'Debug Mode' check box before clicking on Upload. Information about what is happening in the background is then displayed.
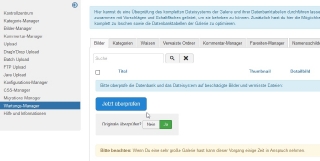
6. Check in the Maintenance manager
Carry out a check in the Maintenance manager of the JoomGallery. Normally you should check the original picture and set it to 'yes'. Unless you have the original images deleted for whatever reason.
You can find it here: Hier zu finden: Components >> JoomGallery >> Maintenance Manager
7. Make CSS changes
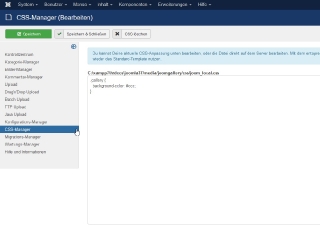
With the CSS Manager you can easily make changes that affect the look of your website.
The changes in the CSS Manager are update-safe, i.e. these CSS changes will be retained in the event of an update.
You can find it here: Components >> JoomGallery >> CSS Manager
8. Check user rights
If there are upload problems in the front end, the following settings should be checked and a screenshot should be posted for comparison.
Open the category you want to upload to. Switches to the 'Category Rules' tab. On the left, select the user group (1) to which the user belongs. Now check the 'Calculated Setting' (3) that are displayed for each Action (2).
Example: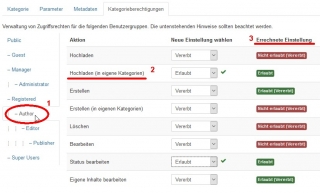
- Details
The important views in the JoomGallery
To understand the differences between the different views of the JoomGallery is very important.
Depending on the view, either thumbnails (gallery / category view), the detail image (detail view) or the original image (Popup box) are displayed.
Each of these views can be configured individually using its own settings in the configuration manager.
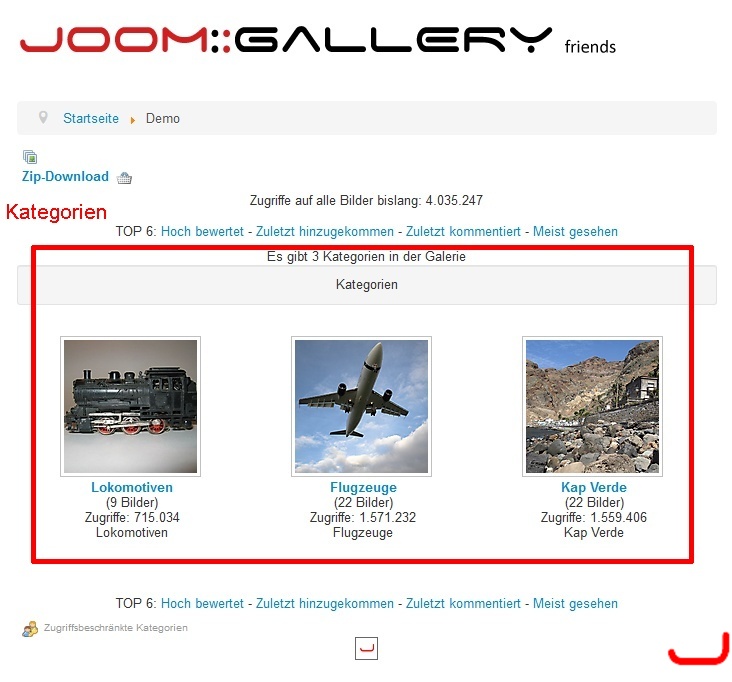
The gallery view
In the gallery view the "top-level" categories are displayed.
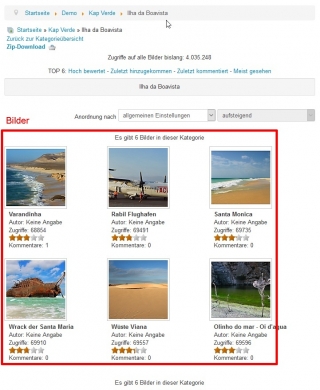
The category view
In the category view the thumbnails from the respective category appears.
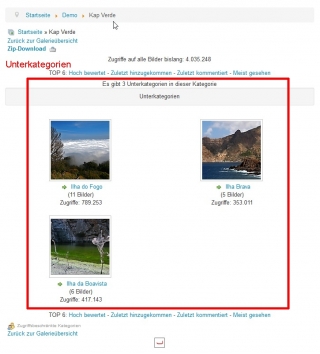
The subcategories
If a category contains further sub-categories, these appear above the images.
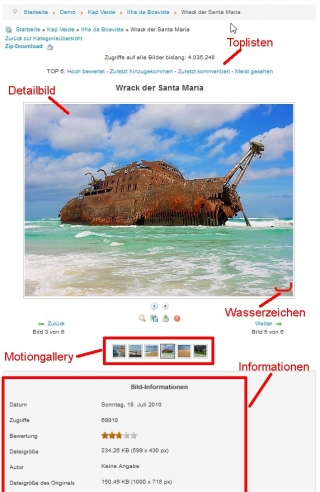
The detail view
The detail image is displayed in the detail view.
In addition to the detail image itself, a wide range of information about the image can be displayed.
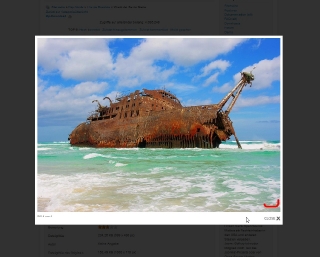
The Popup box
In addition to the settings in the detail view, there are other settings for the Popup boxes in the Frontend Settings >> PopUp Functions tab.
Via plugins installed Popup boxes can also be configured in the respective plugin options.
- Details
Search engine friendly URLs for images
By default, JoomGallery does not use the real paths of the images for the image URLs, but generic ones, which only identify the images via the corresponding image ID. This has several advantages, for example it is possible to count the access to the image and to move and reorganize images as desired after their upload without having to adjust all the places where the image has already been used again.
Unfortunately, there is also a disadvantage: These image URLs are no longer suitable for SEO and do not have the correct image file extension such as '.jpg'.
One possibility to solve this problem is to activate the option 'Use actual paths' in the tab 'General settings'->'Paths and directories' of the configuration manager, but then all advantages of the generic URLs are lost. It should also be noted that this change cannot be taken into account in all places. For example, when inserting images into articles with the help of the content plugin JoomPlu, the generic URLs are still used for technical reasons.
The good news is that you can still generate good SEF URLs for images with the JoomGallery if you use the core SEF of Joomla! (the following will not work if you use another SEF extension).
1. Activated in the configuration of Joomla! the core SEF from Joomla! together with the two options 'Use URL Rewriting' and 'Add Suffix to URL'.
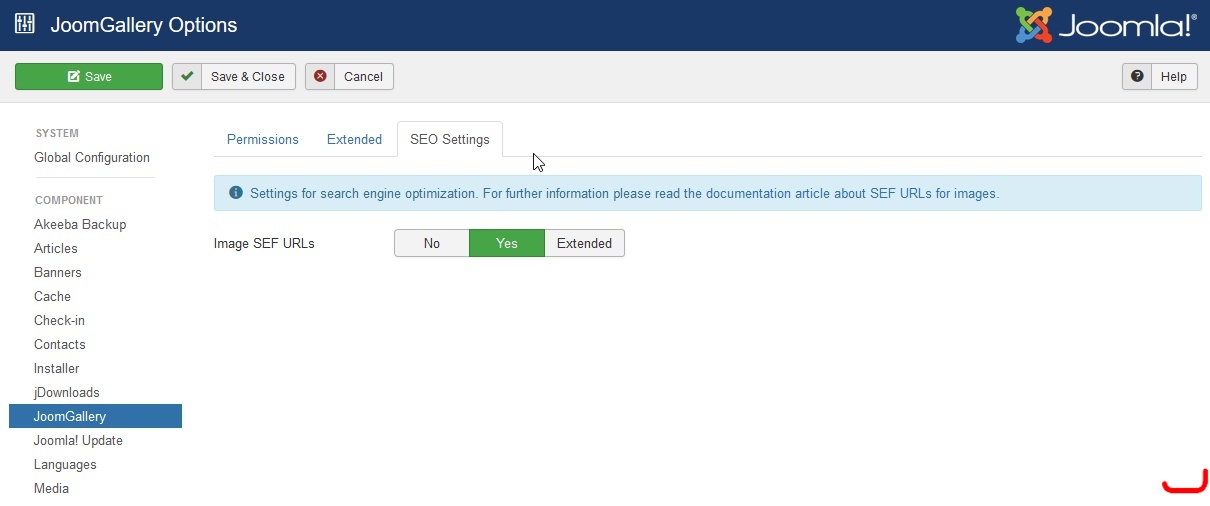
2. Go to the control center of the JoomGallery and click on the 'Options' button in the toolbar. In the 'SEO Settings' tab you can activate the Image SEF URLs.
- Details
What is a template override and how can you use it?
Template overrides can be used to control the output (appearance) of Joomla! and its extensions can be changed almost at will..
For the output, the JoomGallery uses so-called template files that are located in the 'tmpl' folder of the respective 'view'.
You could now change this template file and the output would change accordingly. However, your changes would be lost with the next update, as the template files will then be overwritten again. In order to get a permanent and update-safe change to the template file, you can create a template override.
An example:
To change the output of the detailed view, the file
components/com_joomgallery/views/detail/tmpl/default.php
be adjusted.
Now copy the file above into the html folder of your template. The 'views' and 'tmpl' folders are not taken into account. For example, if you are using the protostar template, the path is:
templates/protostar/html/com_joomgallery/detail/default.php
Other views can contain other template files such as 'default_header.php' or 'list.php'. An override of these files is also possible.
However, this 'permanent' change to the template file has one disadvantage: Important changes, e.g. resulting from the introduction of new features are not automatically included in the override. In this case, the override must be recreated based on the original template file.
Related Links:
Template overrides on joomla.org