


Saving Images in an External File System ("Cloud")
Until now, files (images) were stored by default within the Joomla installation in a "/images" folder. Since version 4, Joomla! supports the use of external file systems ("Cloud"). This allows images to be stored outside of your server in an external storage service ("Cloud"). The connection to the respective storage service is controlled via a plugin.
What You Need
A "Filesystem" plugin for accessing the external storage service.
Joomla! uses the "FileSystem - Local" plugin by default. This plugin stores data in the /images folder.
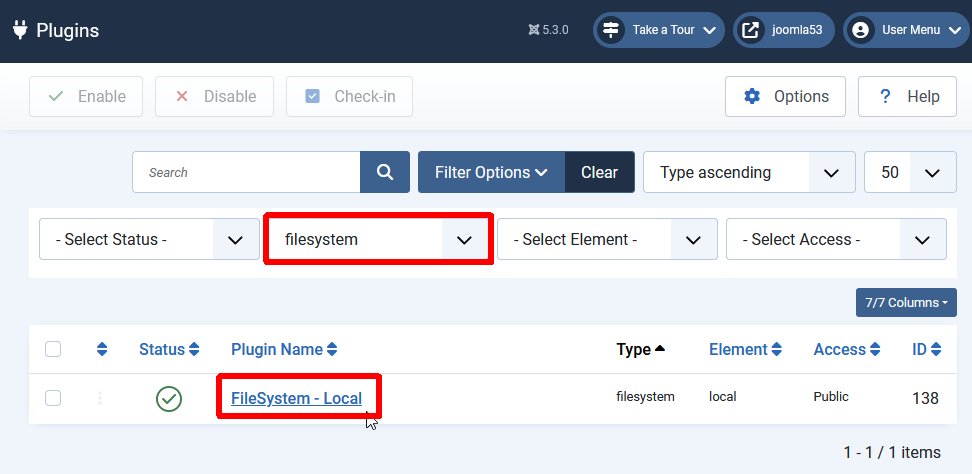
You should be able to find out whether there is a plugin for your desired storage service by searching the internet. Some providers of such plugin options are listed at the end of this article.
In our example, we use a filesystem plugin to access the "Amazon S3" service.
The Process
1. Installation and configuration of the filesystem plugin in Joomla!
In our case, the bucket, access key, and secret key are important for accessing the "S3" storage service. You must create this information via the Amazon Management Console.
If you have any questions about configuring the plugin, the plugin developer's documentation should be helpful; you may need to seek additional support.

2. Test in Joomla! Media Manager
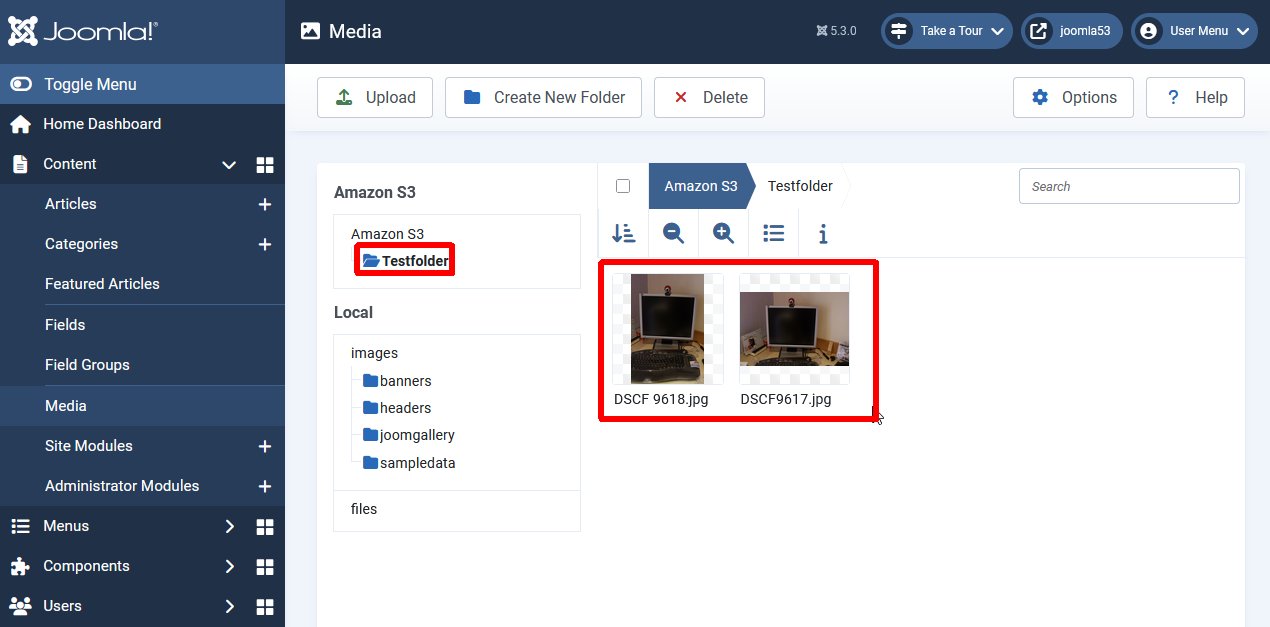
Once the plugin is configured and activated, we can test whether access to "S3" actually works.
To do this, we switch to the Joomla Media Manager. In addition to the familiar local file system ("images"), another file system, our "Amazon S3" file system, will now appear there.

In this folder, we simply create a test folder and place a few files there, just like we do with the local file system.
If deleting our test folder subsequently works, we can also use the Amazon S3 file system in JoomGallery.
3. Deleting the "Uncategorized" Category
Since we want all JoomGallery images in the "S3" storage service, we first delete the "Uncategorized" category in JoomGallery. This category was automatically created "locally" during installation.
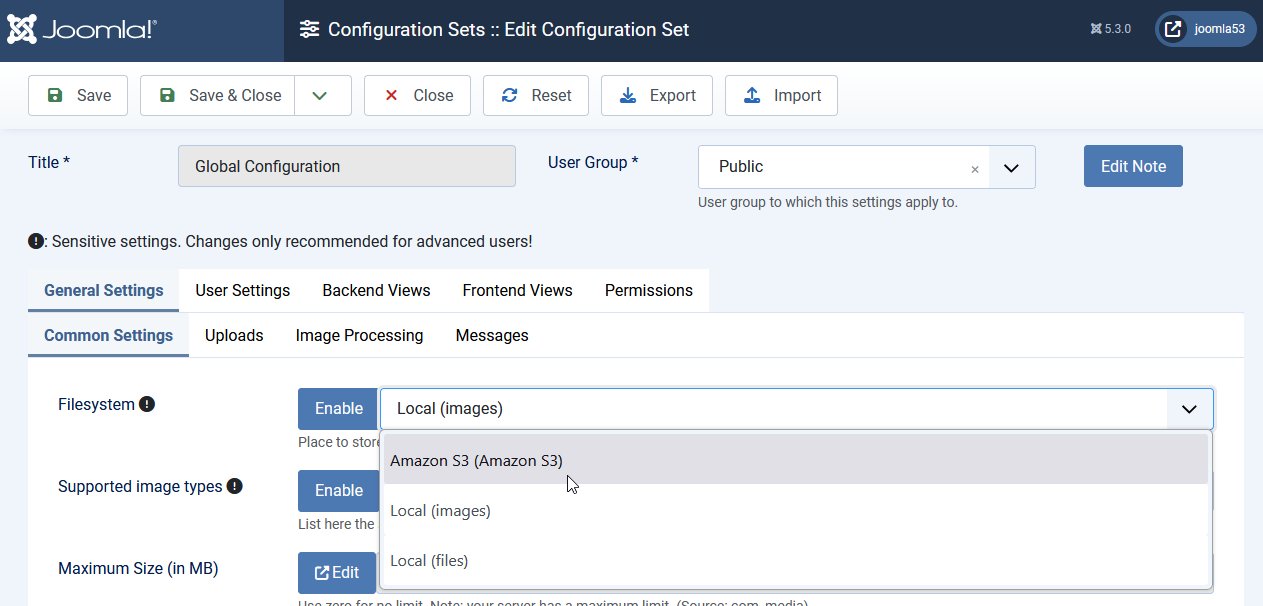
4. Enabling the External File System in the JoomGallery Configuration
Since changing the file system is a "fatal operation," you must first confirm a security prompt. You can then change the desired file system, here from "Local (images)" to "Amazon S3 (Amazon S3)".
5. Create a "testcategory" category and upload images
For testing, we create a category within JoomGallery and upload a few images.
6. Check in Joomla's Media Manager
We switch back to Joomla's Media Manager and check whether our "testcategory" is actually present in the "Amazon S3" file system.
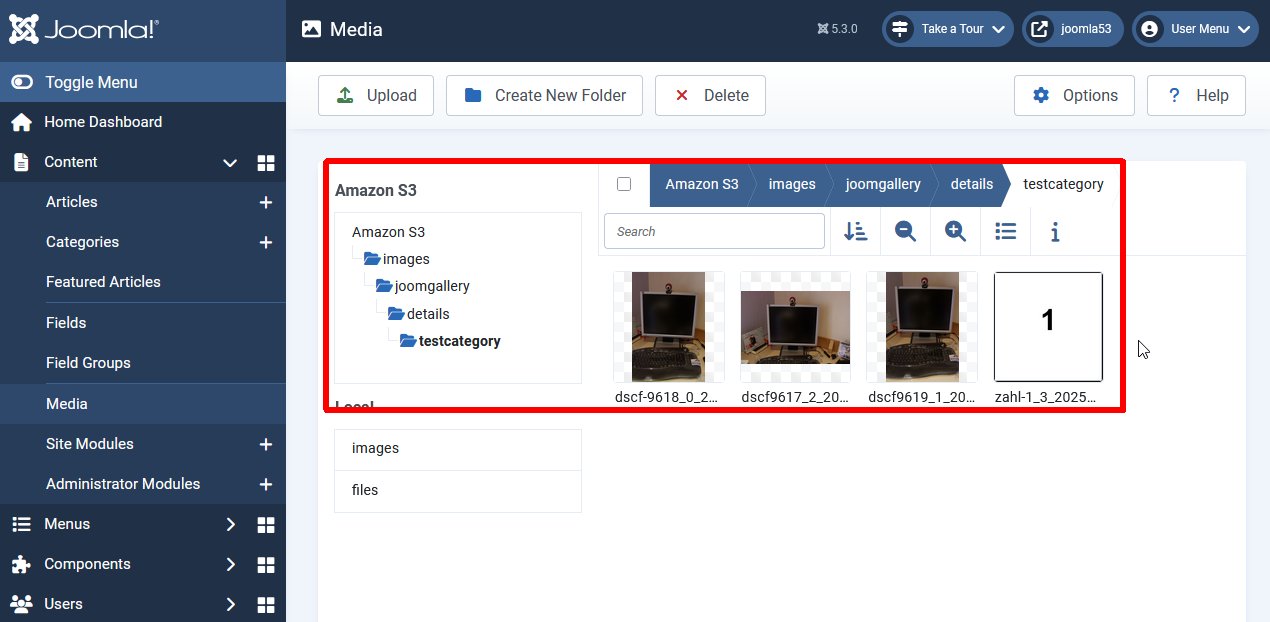
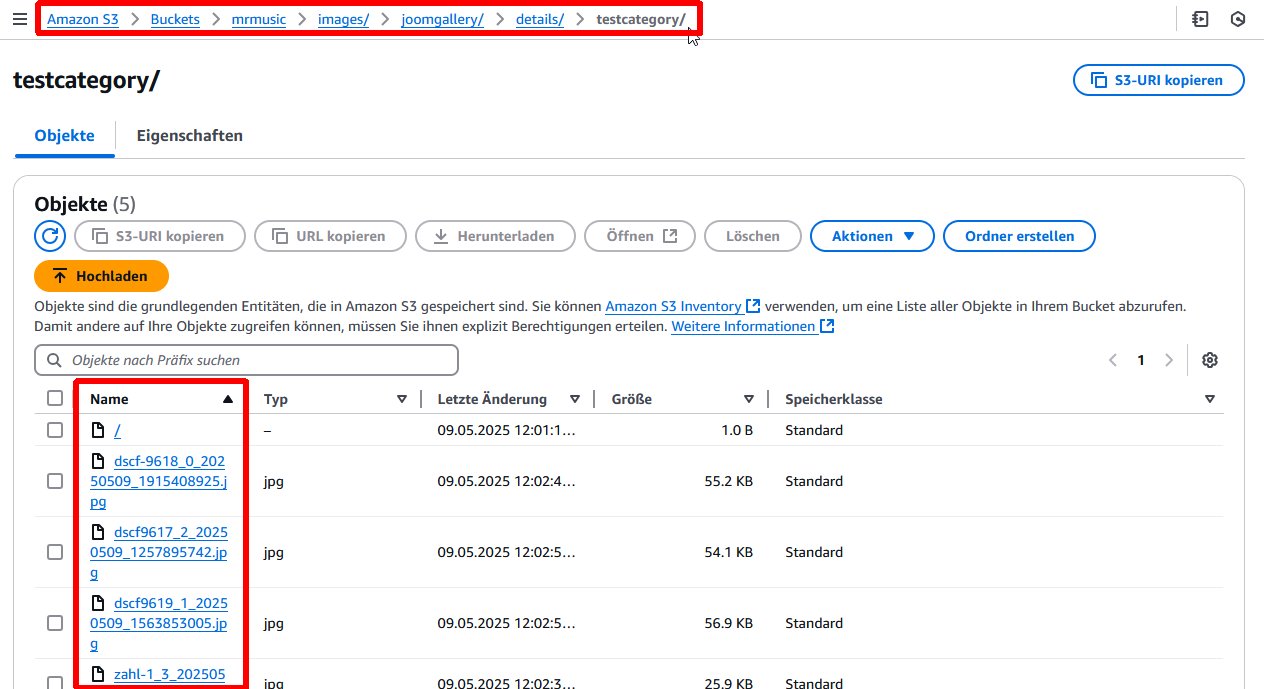
As you can see, JoomGallery now uses the "Amazon S3" storage service and stores the categories and images there.
If you log in to Amazon S3, you can also see the categories and images there.
Please note the following:
Switching between "local" storage and the use of an external provider should only be done while the JoomGallery is "empty".
-> It is not possible to move existing images to/from the external provider. JoomGallery "remembers" which file system the images were actually saved in during upload.
In short: If you have already saved data locally, changes are no longer possible!
Providers of Filesystem Plugins
Digital Peak (large selection of plugins for various services)
Akeeba
JCE
Joomla documentation for developing a filesystem plugin.
A search in the Joomla! Extension Directory can also be helpful.
Note on external services
The images in the JoomGallery are stored in folders (categories). Therefore, the respective service must allow the creation of folder structures; this is not always the case.
The following file systems should generally work:
Amazon S3
Dropbox
FTP
WebDav