


This article explains how to migrate your existing JoomGallery 3.x to the new JoomGallery 4.x. Please follow the instructions carefully to avoid issues during the migration.
Important Notes Before Migration
- Only work with a stable version
The migration should only be carried out with a stable release version of JoomGallery 4.x. Do not use beta or developer versions! - Create a backup of your website
Before starting the migration, make sure to create a full backup of your Joomla! website. If anything goes wrong, you can easily restore the previous state and attempt the migration again. - Understand the basics of migration
Read the article Migration Information: JG3 to JG4 to understand the differences between JoomGallery 3 and 4. This will help you select the right settings for your migration and achieve the desired functionality.
Preparation for Migration
- Work with a copy of the site: It is recommended to first perform the migration on a test copy of your JoomGallery 3.x installation.
- Requirement: JoomGallery 3.6.0 or higher: The migration script requires at least version 3.6.0. However, it is recommended to use at least JoomGallery 3.7.1, as this version includes a maintenance manager to check and adjust the database.
- Uninstall extensions: If you are using any extensions (plugins, modules...) for JoomGallery 3, we recommend that you uninstall them before starting the migration. In all probability, these extensions will no longer work with JoomGallery 4 and may even cause errors. But be careful not to accidentally delete the component itself.
Support & Reporting Issues
If you encounter any problems during migration, use the JG Forum. You can ask questions and exchange information with other users there.
Bug Reports & Code Improvements:
Development of JoomGallery 4 takes place on GitHub. If you find any issues or would like to test new features, register here: GitHub Project Page
Donations & Support:
Our work on JoomGallery is voluntary. If you would like to support us financially, you will find the PayPal donation link at the bottom of our website.
Migration: Two Recommended Methods
There are different ways to perform the migration. Here, we introduce two commonly used methods. Detailed steps are explained in the videos.
Method 1: Migrating an Existing Joomla! Installation
In this method, JoomGallery 3 is updated within the existing Joomla! installation:
- Update Joomla! to the latest version.
- Install JoomGallery 4 over the existing JoomGallery 3.
- Run the migration script.
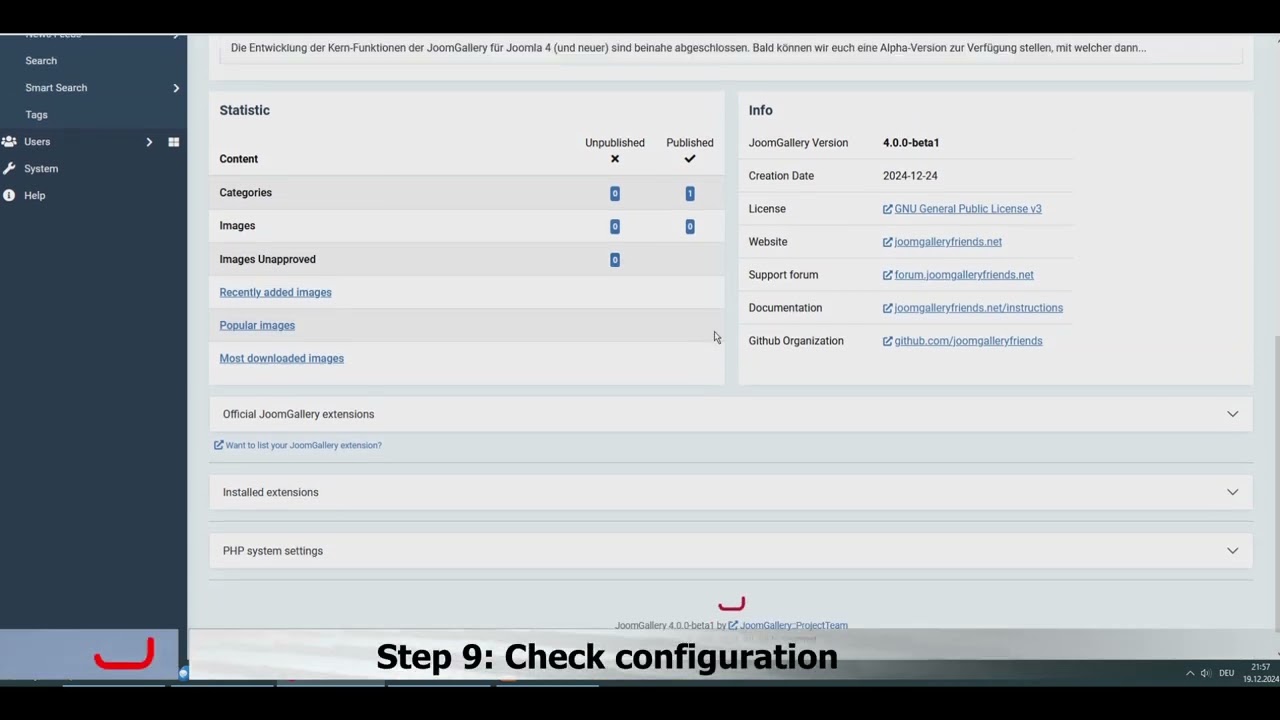 By clicking the "Play" button, the video is embedded by the provider YouTube. Personal data may be sent to YouTube and cookies may be set by the provider. Therefore, it is possible that the provider stores your accesses and can analyze your behavior. The privacy policy of YouTube and Google can be found at Google Privacy Policy.Watch on YouTube
Method 2: Migrating to a New Joomla! Installation
In this approach, a new Joomla! 4.x or 5.x installation is set up, and the data from the old installation is imported:
- Create a new Joomla! installation.
- Install JoomGallery 4 in this new installation.
- Run the migration script: Select the old JoomGallery 3.x as the data source and import it.
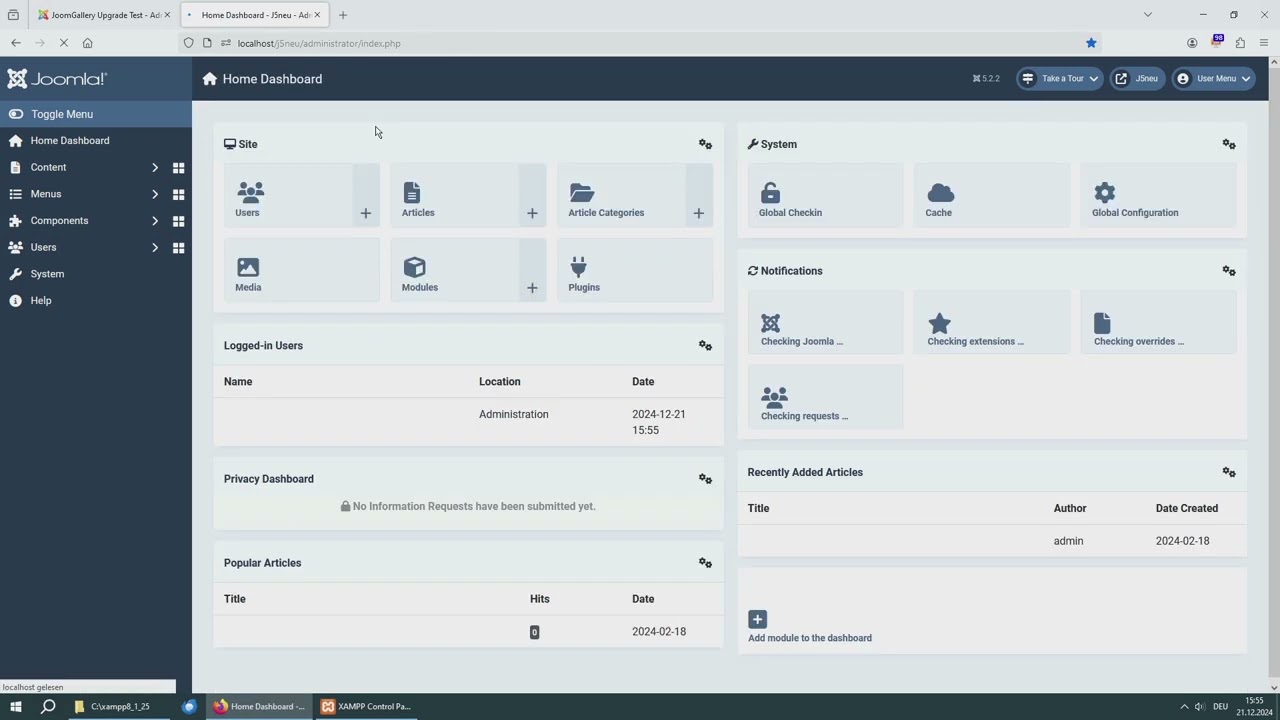 By clicking the "Play" button, the video is embedded by the provider YouTube. Personal data may be sent to YouTube and cookies may be set by the provider. Therefore, it is possible that the provider stores your accesses and can analyze your behavior. The privacy policy of YouTube and Google can be found at Google Privacy Policy.Watch on YouTube
With this documentation, you should be able to successfully migrate your JoomGallery 3.x to JoomGallery 4.x. If you have any questions, do not hesitate to use the JG Forum or support us on GitHub!