


You've uploaded your images to a category and now want to display them on your website. JoomGallery 4.x offers the option of displaying individual images in a lightbox view, in addition to the default "single image view."
Single image view: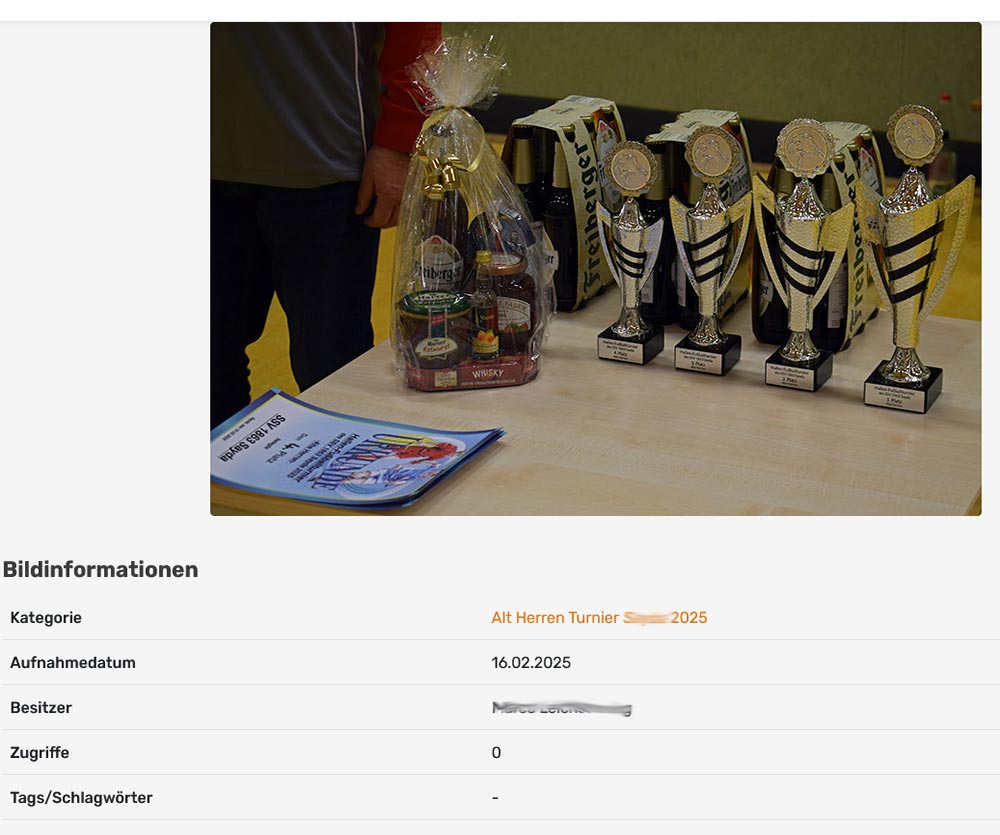
Lightbox view: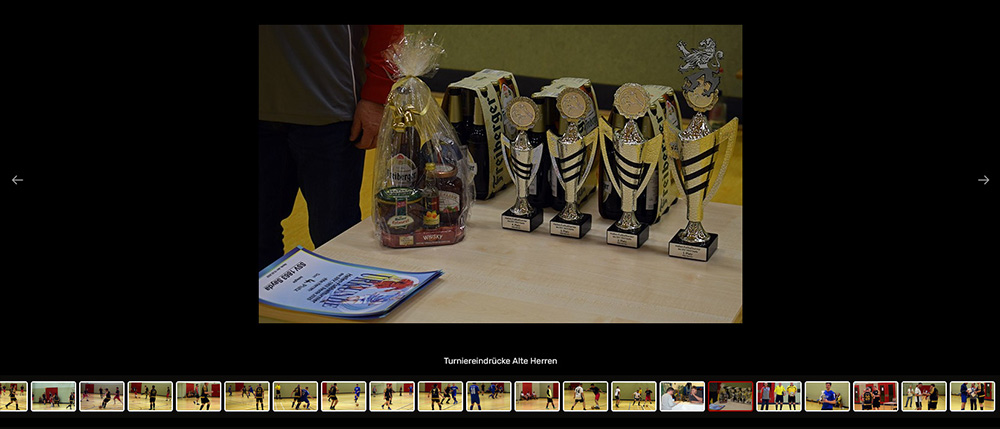
Preparatory work, you may have already created this:
For the general display of your categories with images on the website, the "Gallery View" and the "Category View" are currently available in JG 4.x. You can select these two options via a menu entry.
How do I create a JoomGallery menu entry in the short description:
In the Joomla Backend -> Menus -> Select your desired menu -> NEW button -> Click "Select" as the menu entry type.
For JoomGallery, the following display options are currently available: "Single Image," "Gallery View," or "List of Categories." After making your selection and making any other settings, you must save the menu entry using the button above.
Once you have created a menu entry, click on the menu entry on your website to view the result.
Create a menu entry (example gallery view):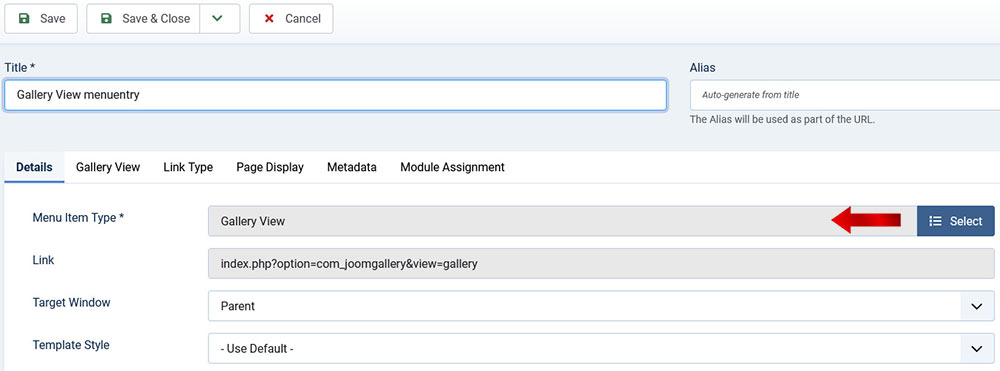
If you now look at the thumbnail view of the images on your website, you can enlarge the images by clicking on them, depending on the settings in the Joomla configuration.
In the configuration settings, you can choose between the "Single Image View" or the "Lightbox View".
While the name of the single image view says it all, the lightbox view is a "larger, centered, floating window while the rest of the website is dimmed."
Using the arrow navigation keys, you can now view the images by clicking left and right.
How do I set this up?
To do this, go back to the Joomla Backend -> Components -> in the JoomGallery "Configuration Manager."
There you will find your (Global) Configuration. Clicking on the name opens the many settings.
There, select the "Frontend Views" tab and one row below, either the "Gallery View" or the "Category View" or the "Single Image View".
Each of the three tabs has individual settings.
Configuration Tab Selection:
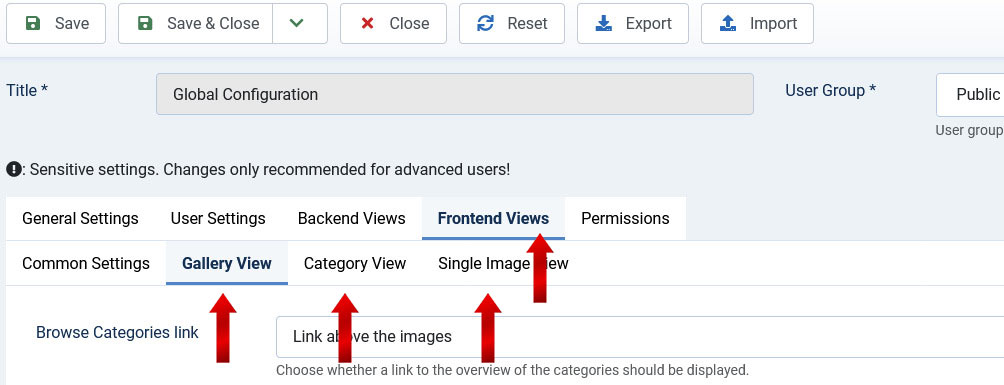
The "Gallery View" tab:
In the gallery view, you can scroll down to the setting: "Image Link." There, you can currently select three options by clicking on the "down arrow." -"No Link" The image is not clickable and will not be enlarged.
-"Link to Single Image View" The image is displayed individually in a new area. (You can see exactly what can be adjusted in the single image view under the "Single Image View" tab.)
- "Link to Lightbox Gallery" is the view of the images you want.
You can select the image size displayed in the lightbox in the "Frequent Settings" tab.
After making your selection, all you have to do is confirm the settings with the "Save" button.
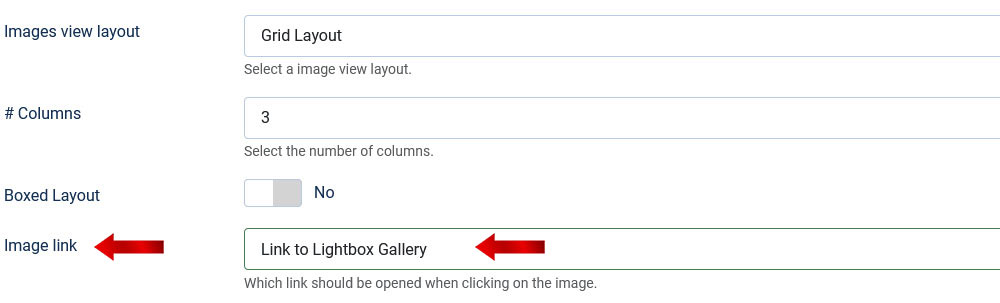
In the "Category View" tab:
Scroll down to the settings for "—Category Images --"There you will find two options for configuring the lightbox view.
First, you can choose a setting for the "Image Link" from the three options described above—that is, what happens when you click on the actual image.
And, under the "Title Link" setting, you can separately specify what should open when you click on the image title.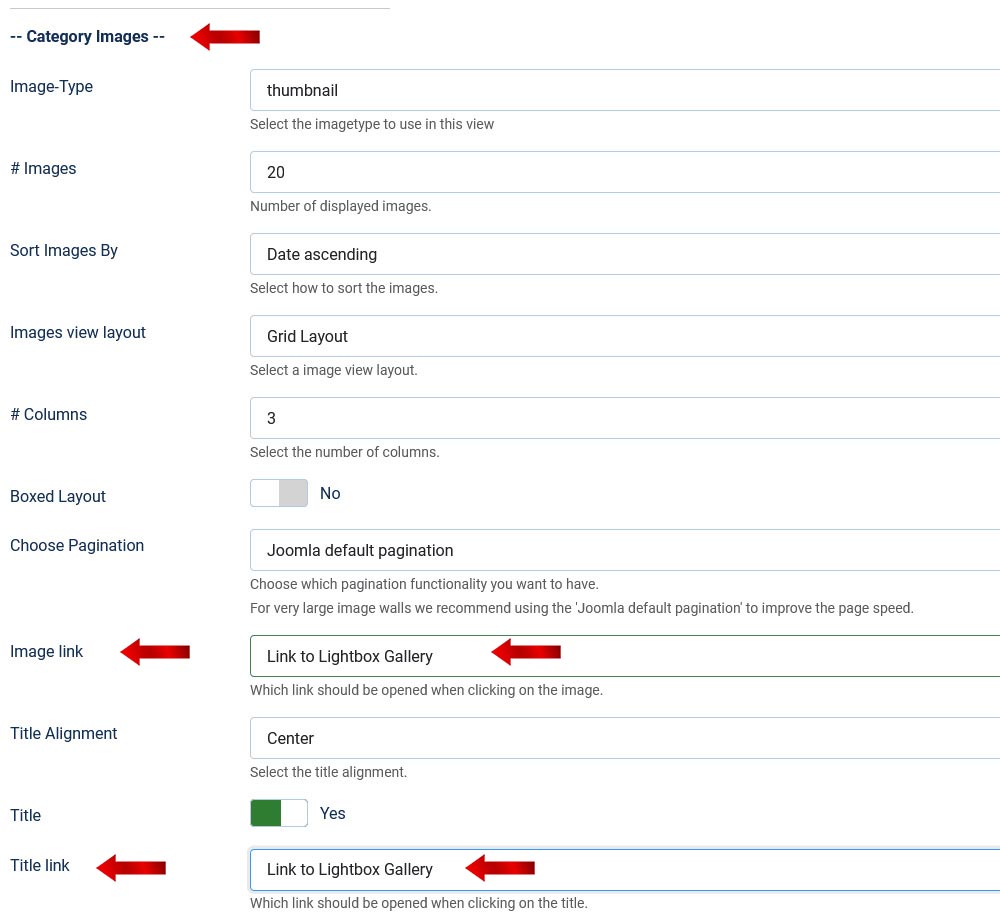
At the end, don't forget to click the "Save" button at the top to confirm everything.
Now look at the website, refresh the browser view (e.g., press F5) and see the change.